Quick Navigation
Getting a new GPU gives you a burst of energy since you can enjoy your games better or do rendering tasks instantly. But sometimes this excitement doesn’t last long as when you turn on the PC you see no monitor display.
A similar thing was experienced by me lately and I even thought about returning the GPU because the problem was so severe. But if you are facing the same issue you don’t need to think anything like that because I did all the legwork and learned how easily I can fix this issue. So let’s learn how to do it!
You may also Like: Best GPU for 4K Gaming
Dirty GPU Connection

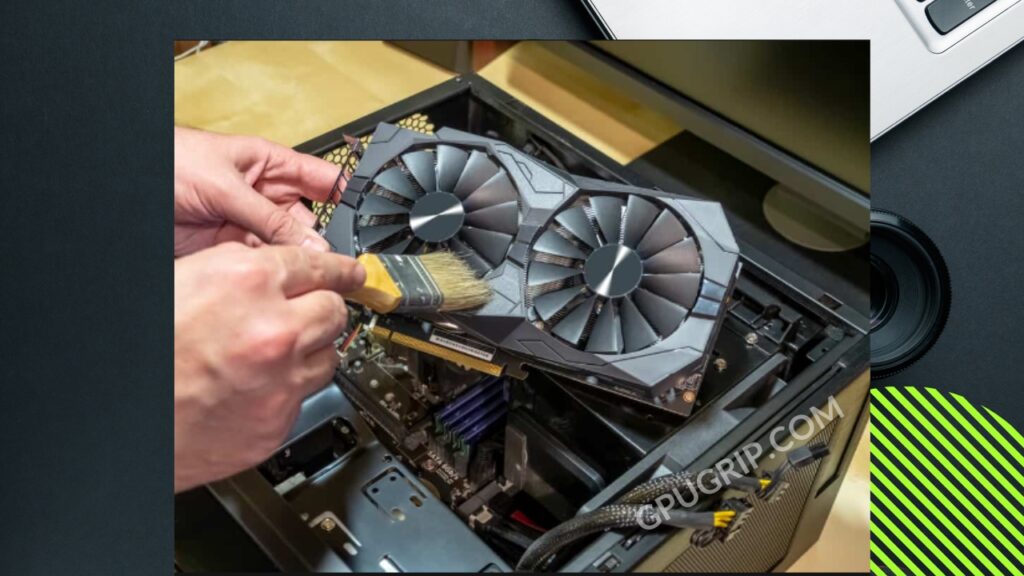
I didn’t have a dirty PC when I got the new GPU. But when I encountered this problem there was a lot of talk around it. Sometimes installed new GPU is no displayed can happen merely because of dirty connections. The dust and debris can accumulate between them and make for problems like no display. But still, I cleaned my PC to fix the issue.
- First, you have to plug off your PC completely.
- Open the PC case and Remove the components or at least GPU from your motherboard.
- Use compressed air to remove any dust or debris from the GPU and motherboard connections. Make sure that you don’t damage any component during the course.
- Now put the GPU back in place and turn on your PC.
If your PC shows display well for you if not let’s look at other methods.
GPU and RAM Slot Problems

Whenever after installing a new GPU and you run into a problem with no display try to isolate the problem. As for me, I checked my display it was working fine before installing the new GPU. After that, I looked at my GPU. Its fans were spinning, but the problem was displayed. Besides dirt and debris, if you do not properly fit the GPU and RAM, it leads to problems like this. Here is what to do:
- Of course, turn off your PC and unplug from the power sources
- Open up the PC case and reach out to the GPU and the RAM.
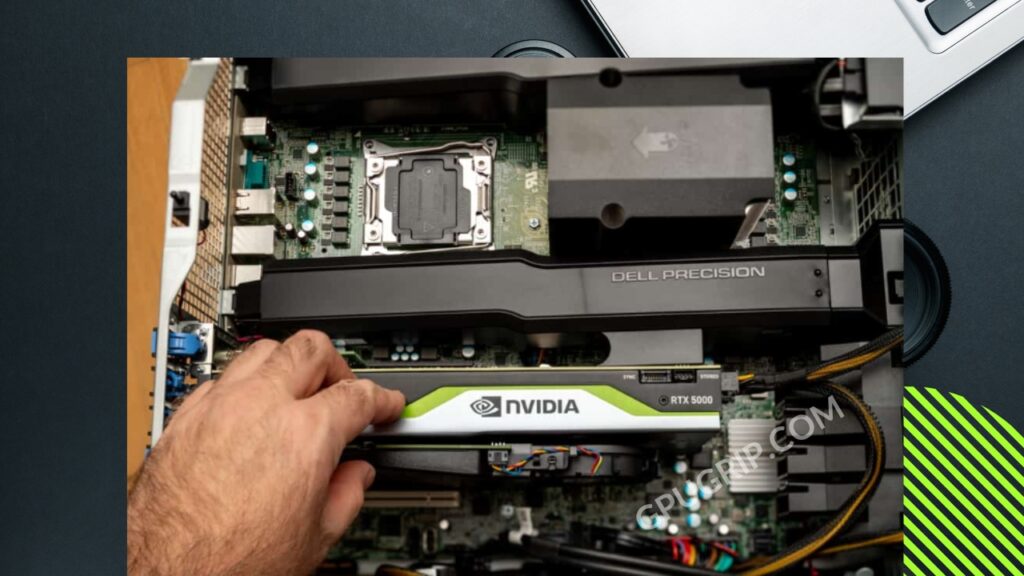
- Pull back both from the motherboard, clean it up, and reinsert it firmly into the PCIe slot. When I was removing my GPU and RAM, it was tightly seated through clips, but sometimes they get loose leading to problems like this. So you should remove them and insert the back properly.
- Not only that but if you are using some type of mount be it a riser cable or a vertical mount make sure it properly connects GPU to the motherboard. Moreover, you also ensure that it goes line to line with the retention bracket.
- After ensuring that GPU is all and good power on your computer and checks for display output.
If you still encounter the issue, here is how to fix it.
Check If Display Works with Another GPU

As I mentioned earlier, isolate the problem. And that involves reaching out to every component if it’s the culprit. When I ran into this problem my GPU fans not spinning no display so I was sure that something wrong with my GPU. But to make sure that GPU is the culprit, I tried my old GPU. To do so, you should:
Power off the PC and open the PC case. Remove your GPU and insert another GPU, probably of your friend or your old chip.
If your previous GPU is a culprit it will show the display now but if the display is still not working then let my friend try a different method.
Till now I was telling you only hardware futures to your GPU display problem. But now, let’s turn to some software fixtures for your GPU display.
Related Article: External power supply for Graphics card
Update/Rollback your Graphics Drivers via Safe Mode

Sometimes the GPU shows no display on the monitor due to driver issues. In that case, you either need to update the drivers or roll back your recent window updates.
Mostly your GPU manufacturer drivers are not updated, so in that case, you need to:
- Visit the manufacturer’s website, be it AMD or NVIDIA.
- Enter your GPU model or look for your specific model.
- Download the zip folder of your GPU drivers.
- Now extract the zip file and read the readme file to know how to install the drivers.
So after completing the steps, you should restart your PC and the display problem must be fixed now.
But what if your GPU is not showing the display in the first place? How can you download the driver and stuff? Well, in that case, you need to enter the safe mode. To enter into safe mode, you should:
- Start your PC and press the appropriate function key or F8 repeatedly until you enter the boot menu.
- After that, look for the option “Safe Mode” and press Enter.
- Once you boot your PC in Safe Mode, you can update your graphics drivers and restart your computer.
If you have an NVIDIA GPU, then drivers might not be a culprit as buggy drivers are often an AMD thing. But still updating(or rolling back) the driver is a wise choice.
If you are a Windows user, you know that your PC component can mess up with new updates often. So if that’s the case try to roll back your recent Windows download. To do so:
- You should go to the control panel and then to the device manager.
- Here you can roll back your GPU drivers.
BIOS Settings Reconfiguration
Since BIOS is responsible for booting up your PC it’s no surprise that PC display can be fixed with it. And I also tried the BIOS reconfiguration to fix the issue. To do so you should:
Start your PC and press the appropriate function key as soon as the PC turns on so that it can take you to the boot menu.
Here you can go to BIOS settings. After getting to BIOS settings you should check if the number of display monitors is correct or not. You should look out for the options like IGPU <monitors> if you are running a multi-display system.
After that, you should also configure the settings related to PCIe. You can select all of the listed options one by one and see if it fixes the issue.
In addition, you should also see if your primary display adapter is configured to the correct PCIe slot. If you see any idle PCIe slot to display the adapter, disable it. Save and exit the BIOS settings and start your PC again.
If that doesn’t work, try updating the BIOS.
BIOS Updation
I must warn you before proceeding that it’s a highly technical method that any random guy might not do. So only proceed to this if you have a strong grip on technical knowledge.
To update BIOS first, you need to know if it’s an old version or not. To do so, you can enter the command in CMD to tell you about its version:
- “wmic bios get smbiosbiosversion”
- “msinfo32”
It will tell you its version. If you see it’s outdated, you should update by visiting your motherboard manufacturer’s site and downloading the BIOS update.
Most often, you get a zip file that you can extract and update the BIOS. Make sure to give read to the “readme” file so you can get the hang of it.
Physically Resetting BIOS
Pysciallyy resetting BIOS means resetting the CMOS cell. CMOS cell is a small battery located on your motherboard near the CPU that acts as the ignition to start your PC. It means after your PC boots up, it tells it how to start.
To reset the CMOS cell, you should:
- Obviously, turn off the PC and locate the CMOS battery. It’s usually like a round battery that you often see in electric stuff.
- You can reset CMOS in two ways: either remove its power pins or remove the cell itself. Both methods require a bit of technical hand. Moreover, its method varies from system to system, so if you can DIY it, good for you. If not, seek a technical hand.
- Remove the battery carefully, wait up to 5 mins, and reinsert it. Start the pc back and see if it fixes the issue.
Test the GPU
As I said you should isolate the problem. So to see if your GPU is the culprit, try to fit it inside another computer. If you encounter the same issues on a different PC, it means GPU is having trouble. If your GPU is under warranty, return it back to the manufacturer. If not, you can ask a professional to fix it.
PSU Power Scarcity

If your GPU is power-hungry and your PSU is not able to handle it then you can encounter issues like black screen. Not only that, but you should also check if all the CPU power cables and PSU connectors are set in place. So you should either get a new supplemental PSU or connect the cables properly.
Conclusion
Installing a new GPU can be a daunting task. When I was installing it I did all the legwork and properly installed yet I encountered this issue. So what to do when installing a new GPU so that your black screen problem vanishes? There are quite a few measures as this problem is quite common. To overcome this issue, make sure to install the graphics card and all necessary drivers properly. In addition, you should also check the power supply and make sure it is sufficient for the new graphics card. On top of that, display settings, proper configuration, and the monitor’s correct functioning are important. If nothing works, you should reset the GPU and test it on another PC.

