Quick Navigation
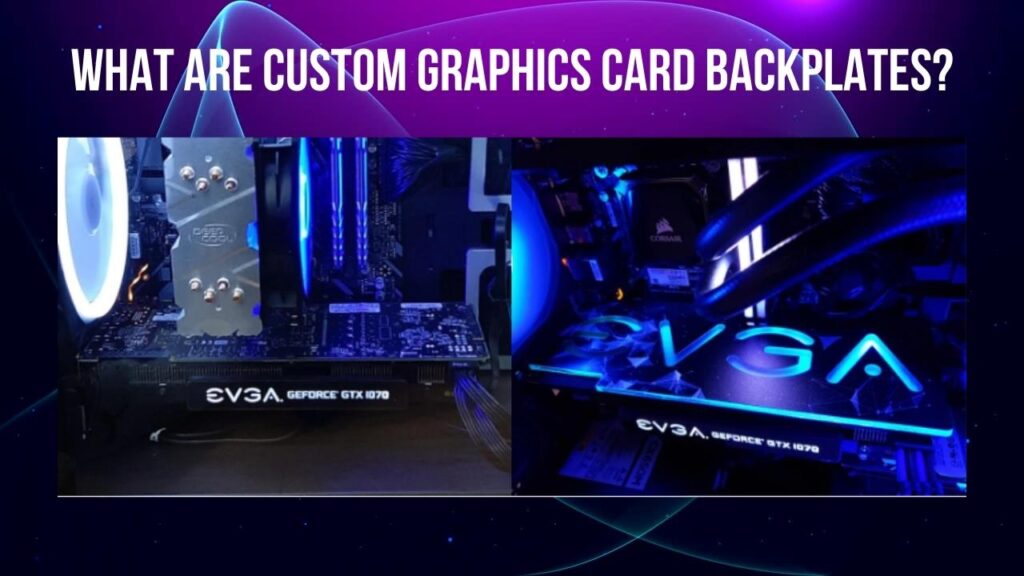
Backplates are as simple as the name is but these plates have an important impact on graphics cards. Most of the manufacturers try to make the back area of the GPU flat for some special purpose. They do it to provide an additional functional and lightning area to the GPU.
What are custom graphics card backplates and what is their purpose? These plates have a special function for graphics cards. In this article, we are going to discuss all the graphics card backplates, how they work, and how to install these plates.
You may also Like: Reference Graphic Card Vs Custom Graphic Card
What are Custom Graphics Card Backplates?

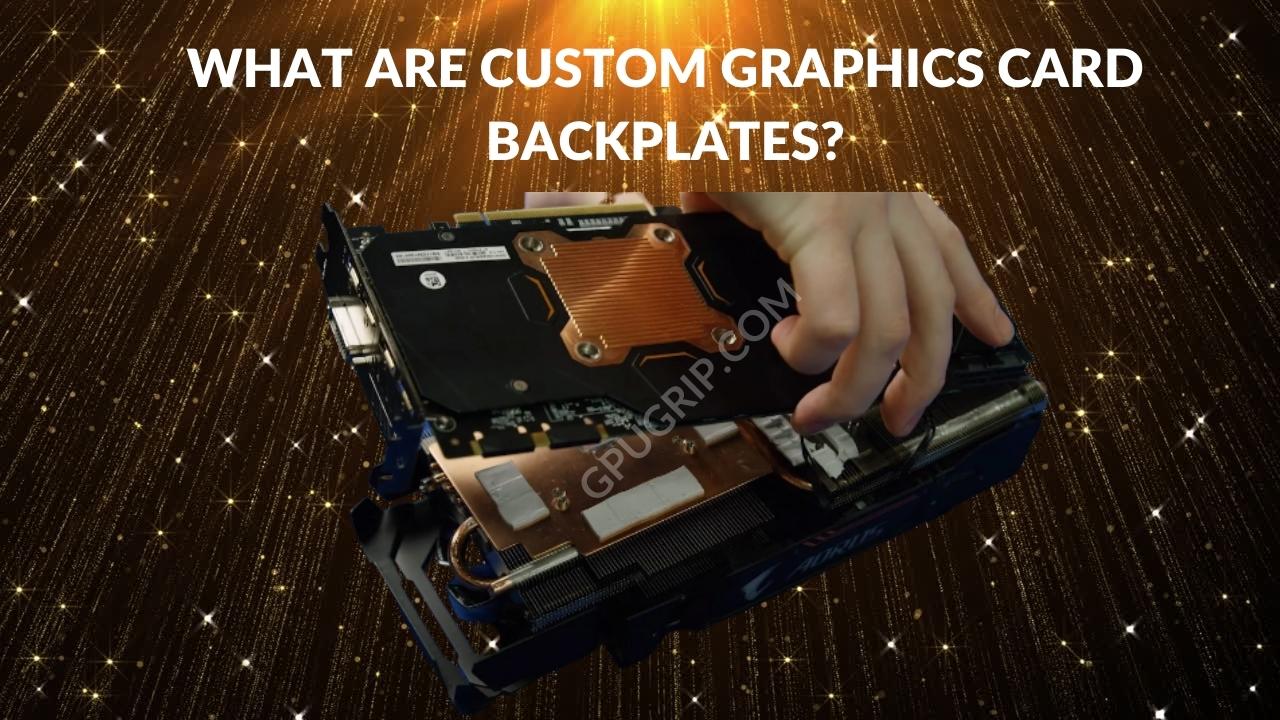
Backplates are flat plates made from metal sheets that exist on the back side of the graphics card. These plates are not present in all GPUs but most of the users want to install them. Backplates have an important function in GPU performance because these plates protect the graphics card from external damage.
Backlates as their name exists on the backside of the graphics and works as a protective layer for it. They work to protect the GPU from dust and other damage. You can call it a physical barrier that has an important function in the GPU.
Why Do You Need Backplates on GPU?
As we know all PCs include graphics cards for their best performance in video editing tasks and games. Graphics cards are an essential need of the motherboard in visual tasks. Now if we talk about the backplates on graphics cards, they are present on most GPUs. It must be safe from dust and external damage for the best performance.
Backplates have a sheet layer that you put on the backside of the graphics card and add thickness to it. This thickness keeps the graphics card protected from all external damages. People want to install these plates on GPUs to protect their graphics cards as it is a physical barrier.
The plates make it easier to clean the graphics card when you want. If you have these plates on a graphics card, your video card remains safe from bending. The design and model of graphics cards remain safe from physical pressure to maintain their original shape.
The backplates present on the backside of your graphics card also save them from bending. It does not let the video card bend with time and keeps it in its original design. It is the second function of backplates that keeps the graphics card in its original design.
Some of the GPU models have backplates that provide cooling effects also to enhance the performance of graphics cards. These plates work as a heatsink and help the graphics card dissipate heat while heavy work. They have an effective impact on the temperature of the graphics card to provide a cooling effect.
Budget User choose: Best Graphics Card under 200
How to Install Custom Graphics Card Backplates?

It means most GPUs come with built-in backplates to protect them from dust and physical damage. If the graphics card does not have backplates, you can install these plates on the GPU by yourself. They are easier to install on the GPU backside and need a few steps to follow. All the instructions are available on the model card of the backplates you purchase.
You need a few things to install new backplates on the graphics card and the process is also easy to carry. The things are easily available for this installation process. Here are the instructions to follow while the installation of the backplate:
Turn off the PC
The first and main step to start the installation process is turning off your PC and unplugging it from power. It is important to turn off the PC because you have to open the motherboard penal to remove the graphics card and install the backplates.
Remove the Backplate Packing
Now after turning off the PC, unpack the backplates and read the instructions carefully. All the instructions related to the installation process are written in the packing. You must follow these instructions for the right installation.
On the packing, you can read which equipment you need for placing the backplates on the graphics card.
Clean Your Graphics Card
Remove the graphics card from the motherboard and check that it is in the proper state. If there is any dust on the graphics card, you must clean it gently. Use a microfiber cloth or a brush to remove all the dust from the GPU.
If the graphics card is in a dusty state, you may need a deep cleaning process to remove all the dust. Put the cleaned graphics card on a clean surface area.
Remove the Screws
After removing and cleaning the graphics card, the next and most important step is to unscrew it for backplate installation. Take a screwdriver and remove the screws that are mentioned in the instruction. You do not need to remove the extra screws that are not mentioned in the instructions.
Install the backplates
You need long screws to install the plate area with the graphics card back area tightly. These long screws will let you install the plates deeply with a graphics card for the best function. Put the backplates on the graphics card’s backside by taking the exact direction of the screws.
After putting everything in an exact position, you need the screwdriver to tighten the screws and complete the installation. Some of the backplates have magnets that work as an adhesive in their installation on graphics cards.
Attach the Power Cable
Now the installation is complete. Attach the graphics card to the motherboard carefully and close the panel. The next step is to plug in the power cable and boot your system to start working on the graphics card. Your Graphics card is now protected from dust and damage.
Wrapping Up
Backplates are metal plates that are installed on the backside of a graphics card to protect it from dust and external damage. Most of the graphics cards come with preinstalled backplates. But you can also install it on the graphics card by using a screwdriver and screws. It is easier to install the backplate on the graphics card by taking it out from the motherboard.

